Payment Record
Make
sure you have completed following session(s)
l
Fast Salary Generation /
Add Salary Record
Once the salary
records are calculated and checked without any problem, you may start the
payment process for paying the salaries. Depends on the payment method,
salaries can be paid by cheque or bank direct transfer (i.e. Autopay). Below
steps showing how to export data file(s) for bank autopay.
Steps
1
Open payroll maintenance
screen. ( Detail steps please refer to Starting Payroll Management )

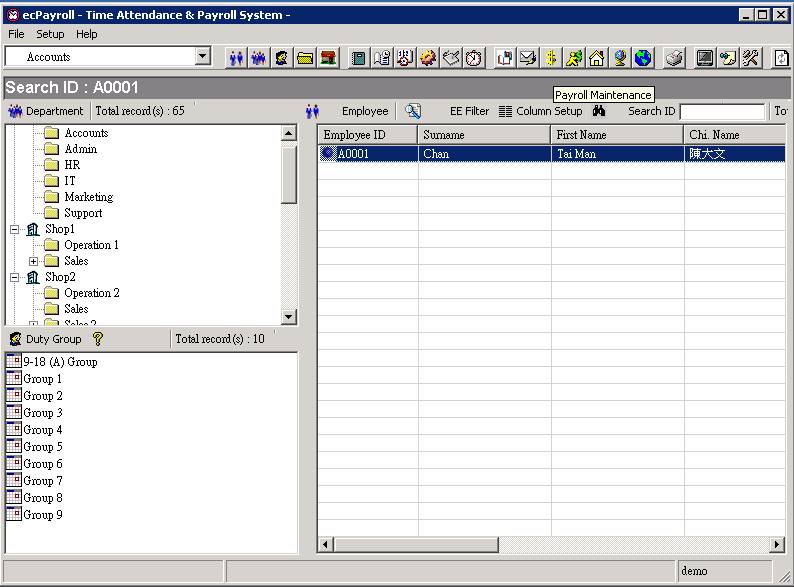
2
Click the [Payment
Record] button.
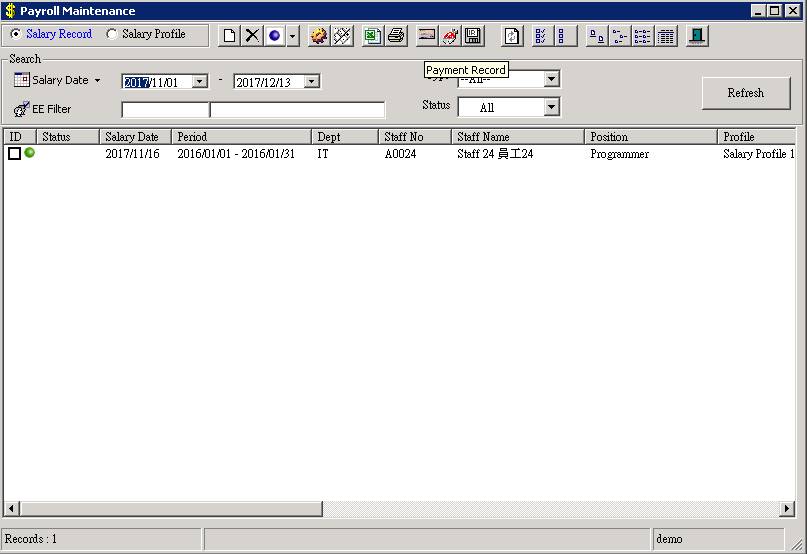
3
The
screen is shown as below:
4
Add
a new payment record. A payment record means a batch of salary payments for a
group of employees in a particular pay period (i.e. normally a month).
4.1
Press
the [New payment] button

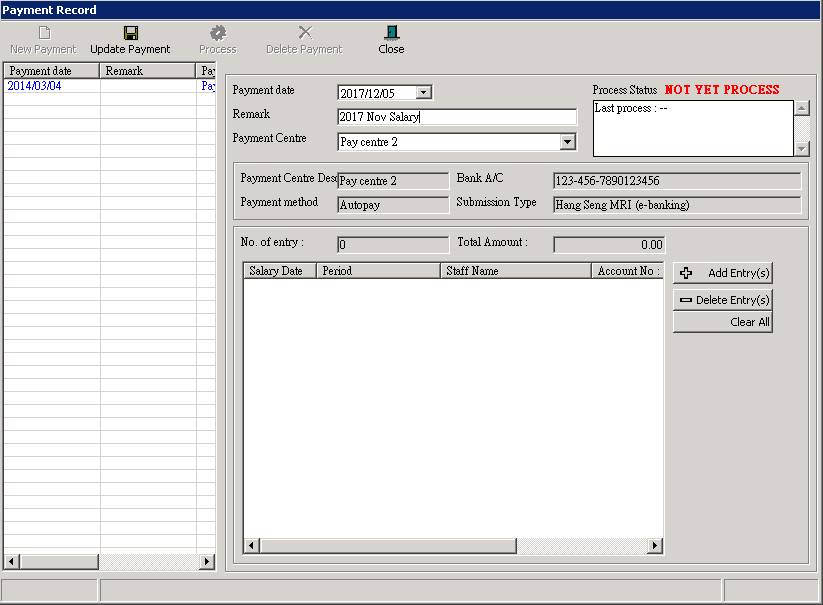
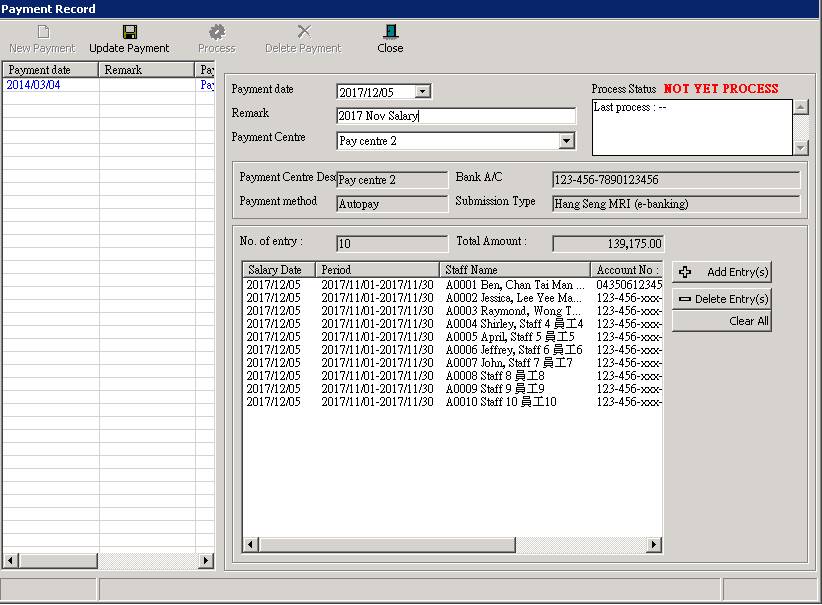
4.2
Fill
in all required information:
“Payment Date” - Means the creation date of this payment.
“Remarks” – A text remark to describe this payment. For example,
“2017 Nov Salary”
“Payment Centre”- Select the required Payment Centre. The
Payment Centre tells the system how to do the payment. In this example, it
tells the system to transfer money through bank autopay in Hang Seng MRI
(e-Banking) format, and the bank account number is 123-456-7890132456.

4.3
Press the [Add
Entry] button to add payee(s) to this payment batch.
![]()
4.4
Select
salary record(s) to be added into the payment batch. You may filter out the
required salary records by using the search options such as the salary date
range, EE filter, status, as well as the payment centre. Noted that normally
the payment centre should be the same as the one you selected in step 3.2.

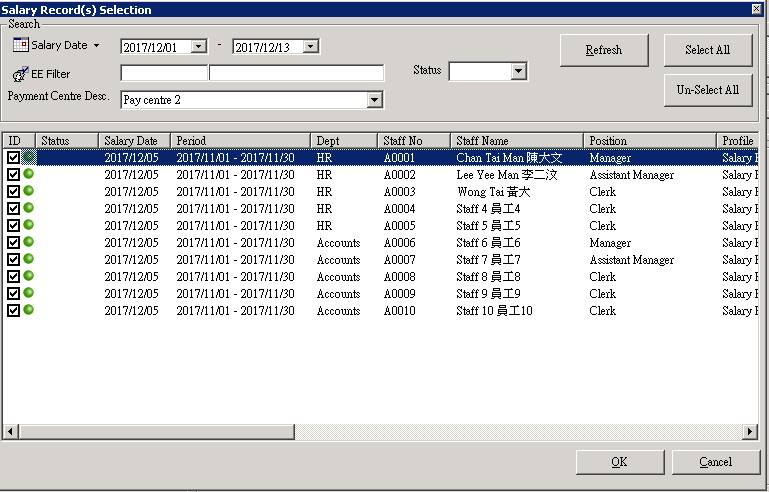
4.5
Press
the button [Refresh] to start
searching. After searching, select the required salary records by “tick” on the
check box, or press [Select-All] button to select all searched records.

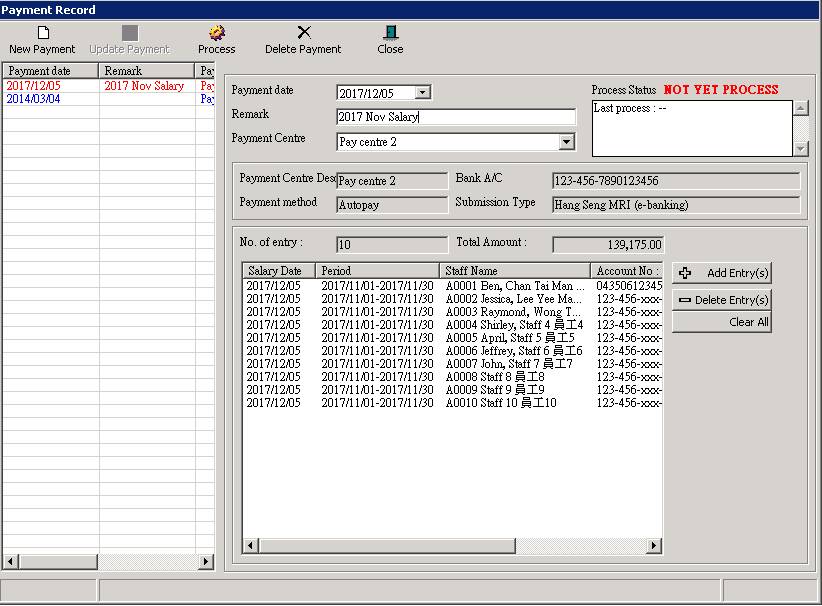
4.6
Press
[OK] button to back to the payment record
screen. Now you should find that your selected salary records are all added to
the list, and the “No. of entry” and
“Total Amount” are calculated. Check
it carefully and make sure it is correct. If they are not correct, press [Clear All] button to clear selection,
and repeat step 3.3 to add entries again.

5
If
all information are correct, press the [Update
Payment] button to save the batch payment record.

6
Now
you have already created the batch payment record and it contains all
information for bank autopay. You can find this record is showing on the list
in red colour that means it is not yet process (Already process records are
shown in blue). Actually you may find all previous payment records on the list
too.

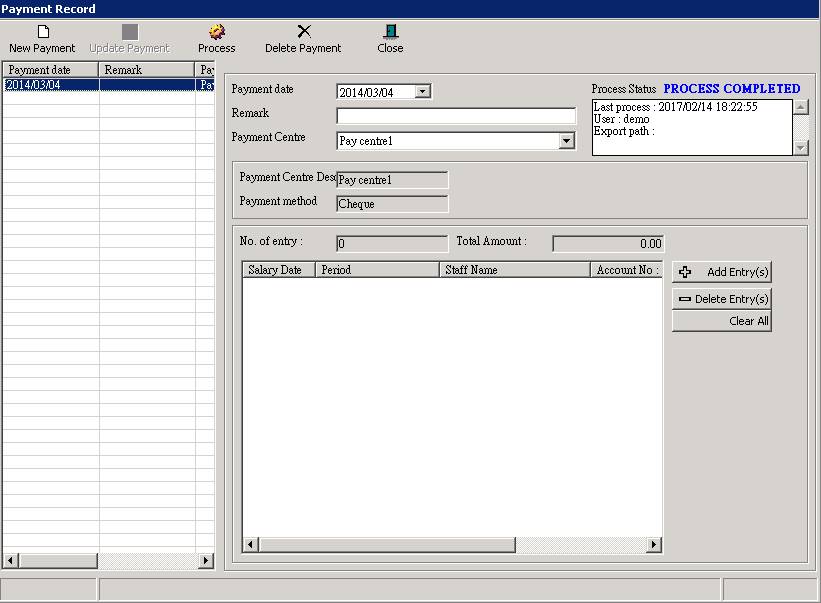
Process the payment record
Once you
have created the payment record, you can now follow below steps to generate the
autopay data file in order to submit to the bank.
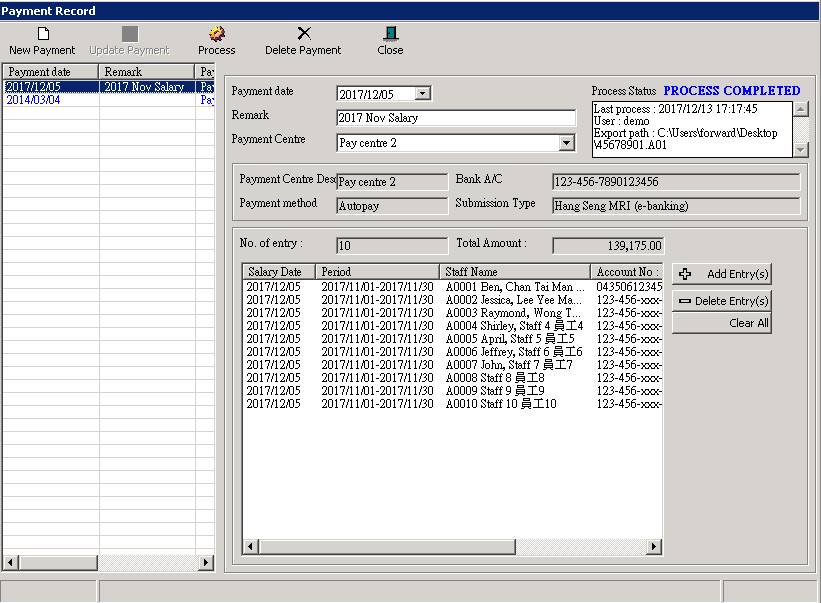
1
Choose
the payment record on the list to be process. The last created record should be
located on the top of the list. Moreover, the status of the new created payment
record should be “Not yet process”.
![]()
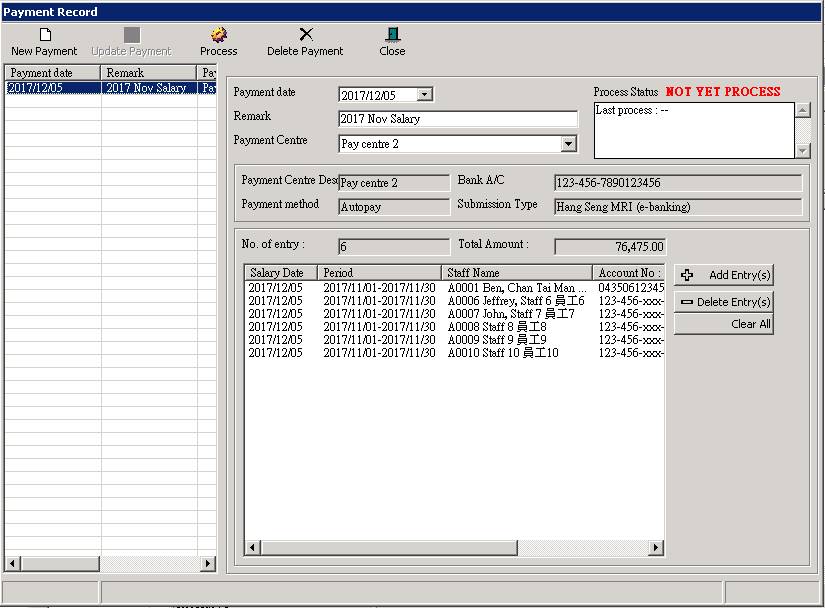
2
Click
the [Process] button to start
process.

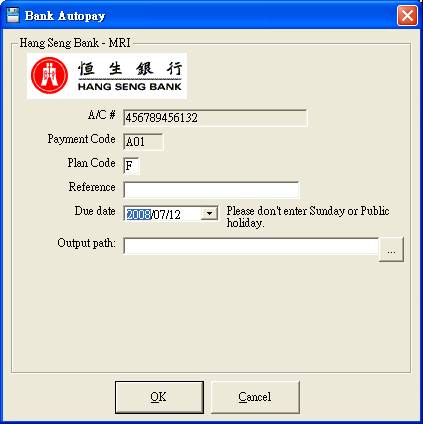
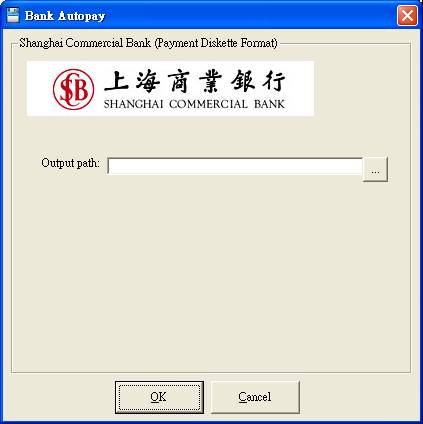
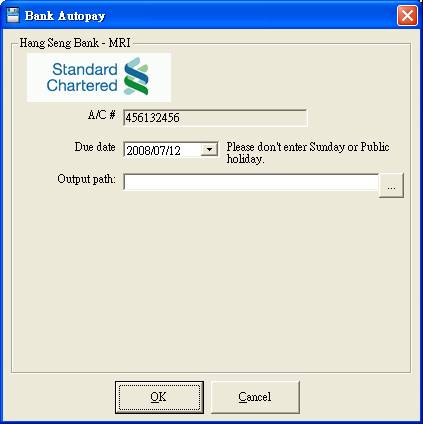
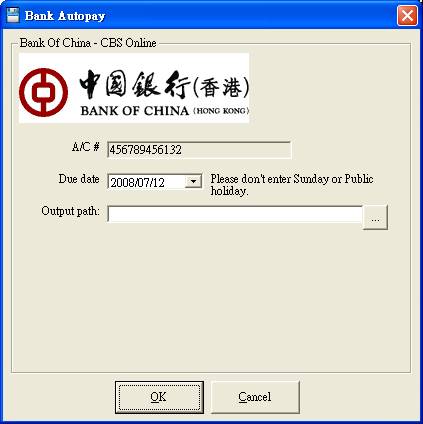
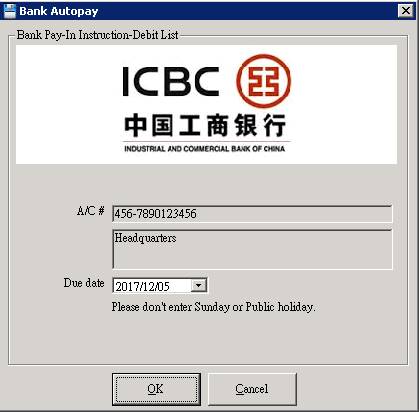
3
Depends
on which bank defined in payment centre, the corresponding screen will be
shown. Fill in the fields accordingly and press [OK] button when finished.
|
|
|
|
|
|
|
|
4
The
process is completed. Depends on different bank operation, an autopay data file
may be exported, or an autopay instruction report is generated. Follow your
bank instruction and submit the file to them to process money transfer. Now,
you may find that the status of the payment record was changed to “Process
Completed” and the colour turns to blue on the list means it has been
processed.

See also
Employee Record –
Payment Centre