

Appraisal Rating Setup
Make sure you have completed following session(s)
|
|
NOTE |
Once the
Appraisal Form had used, the settings of the form including the related Items
and Ratings should NOT be changed or otherwise the previous records are
affected. |
|
|
TIPS |
If there
are some changes to be made and the Form had already used, you should create another
new Form with a meaningful name such as “Form A 2018” in order to distinguish
with the old one. |
More than 1 Appraisal Rating can be created for 1 Appraisal Form. Please follow below steps:
Steps
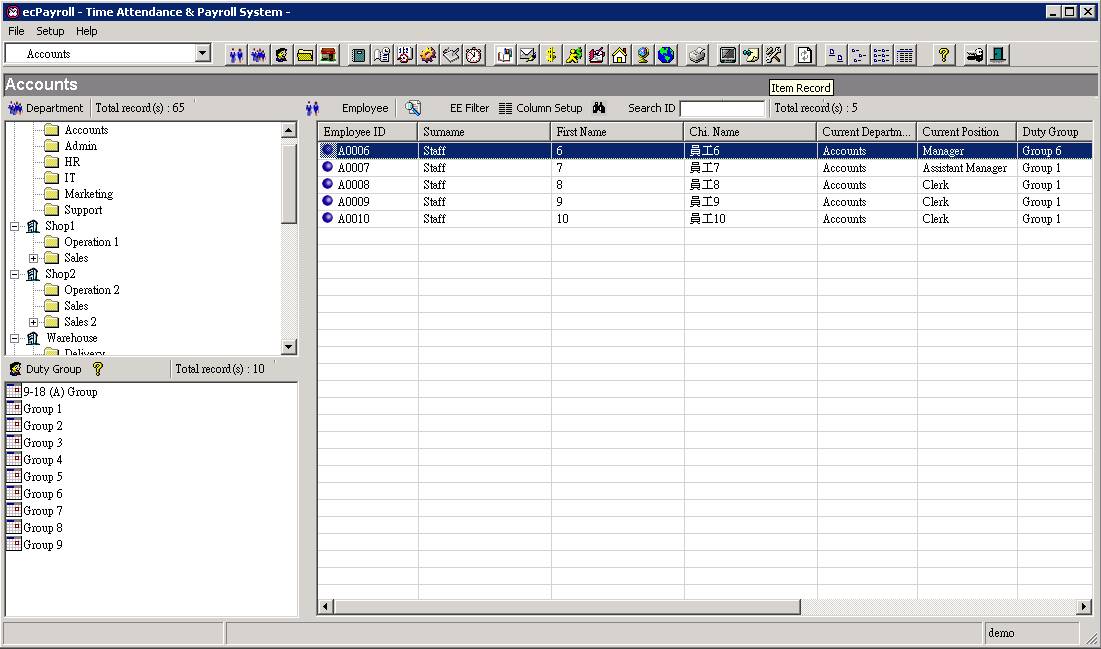
1. Click the [Item Record] from the
main screen toolbar
![]()
2. Select the [Appraisal Rating Setup] from
the menu
![]()
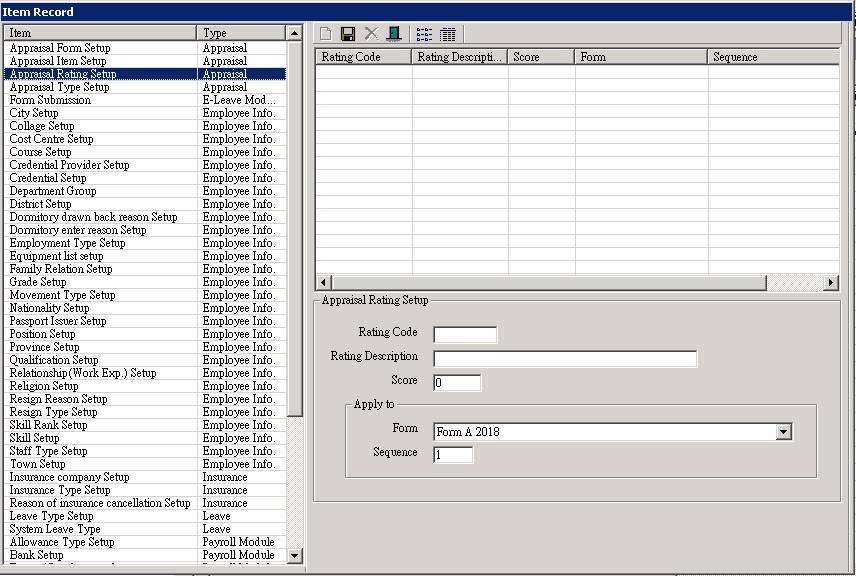
3. Click the [new] button to add a new
appraisal rating. (Skip this step if no any appraisal rating in the system
before)
![]()
4. Enter the details of the rating,
including
|
Data Field |
Explanation |
Example |
|
Rating Code |
The input code of the rating. This code let
user input quickly by simply pressing the key. For example, you may simply press “E” to jump
to the rating which is starting with “E” like “EX”, which may stand for
“Excellent”. If you define the code as “5-EX”, then you can press “5” to jump
to this rating where “5” may stand for 5 score. |
“EX”, “5”, “5 – EX” |
|
Rating Description |
The name of the rating. |
“Excellent”, “Good”, ”Average”, “Fair”,
“Poor” |
|
Score |
The point gained for this rate. The value
should be an integer. |
1, 2, 10 |
|
Apply to > Form |
To tell which Form will showing this Rating. |
Form A |
|
Apply to > Sequence |
To define the order
of showing this rating in the selected Form. The ratings will be
shown in ascending order. Normally, the sequence
should be “1”, “2”, “3”, … however, sometimes if you want to insert a new
Rating in between, you may input “1.5” in this field so that the rating sequence
becomes “1”, “1.5”, “2”, “3”, … |
“1”, “2”, “3”, “4”, “5”,“1.5” |

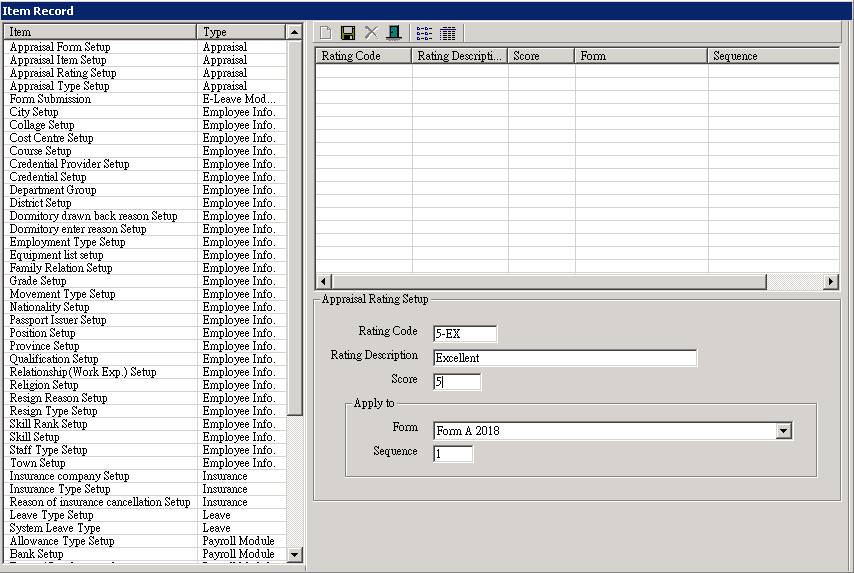
5. Click the [Update] button to save
changes.
![]()
6. Finished. Repeat steps 3-5 to create
another Rating.
