

Generate a report in system
backend
Make sure you have completed following session(s)
In ecPayroll
system, reports can be generated from both system front-end (i.e. Web App), and
back-end (i.e. TAMS). In this session, we will show you how to do it in system
back-end.
Please
follow the steps below:
1
In
main screen, click the [Reporting] button from the main toolbar.
![]()

2
Select
a report that you want to generate, there are 3 ways to choose a report:
2.1
From
the report list on the left, under the "Standard reports” node, select a report under different category.


2.2
From
the report list on the left, under the “Recent reports” node, the last 10
generated reports will be shown here. You can choose a report from here.

2.3
At
the top left hand corner, there is a search box. You can type the name of the
report directly. When you are typing, the nearest one will be selected. To
clear the search box, press the [X] button.

3
Once
you have selected a report, the report name and corresponding options are shown
on the right. For each option, select your requirements for filtering data and
report generation. Different report has different options.
|
|
TIPS |
If there
are “Date range filter” and “EE filter”, make sure you have not wrongly
selected a very long date range, or any unnecessary employees that may cause
long generation time. |

4
Once
all filter options are selected correctly, select and click on a button at the
bottom in order to generate the report in such way.

There are 4 ways to output the
report:
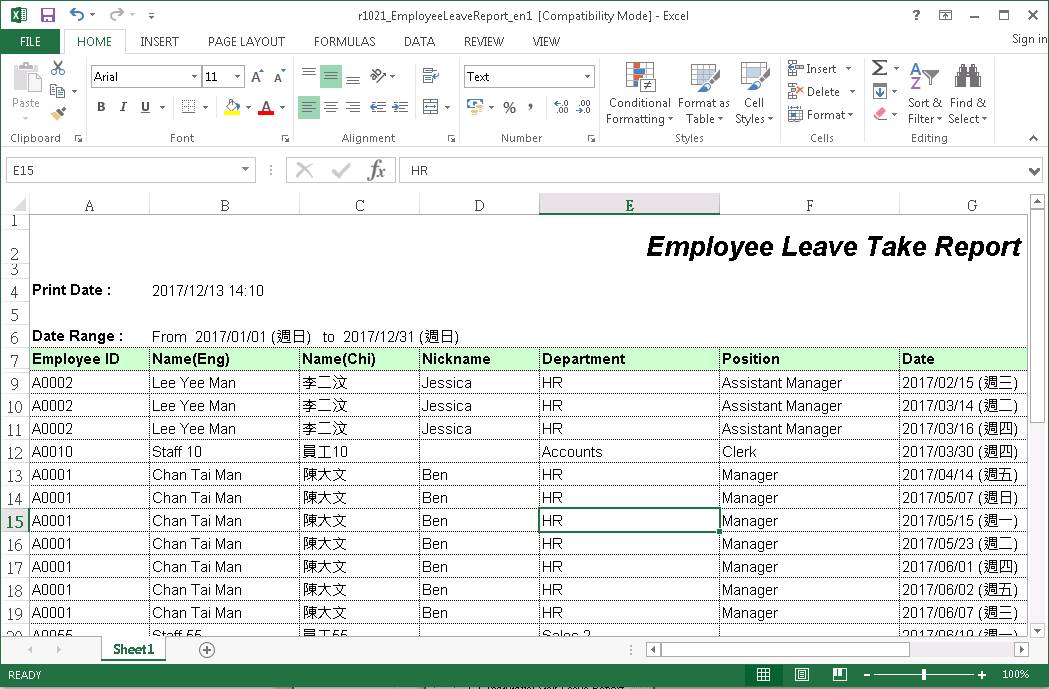
4.1
Export : Export the report to MS EXCEL directly.
Normally, the EXCEL report will be launched after report generation completed.
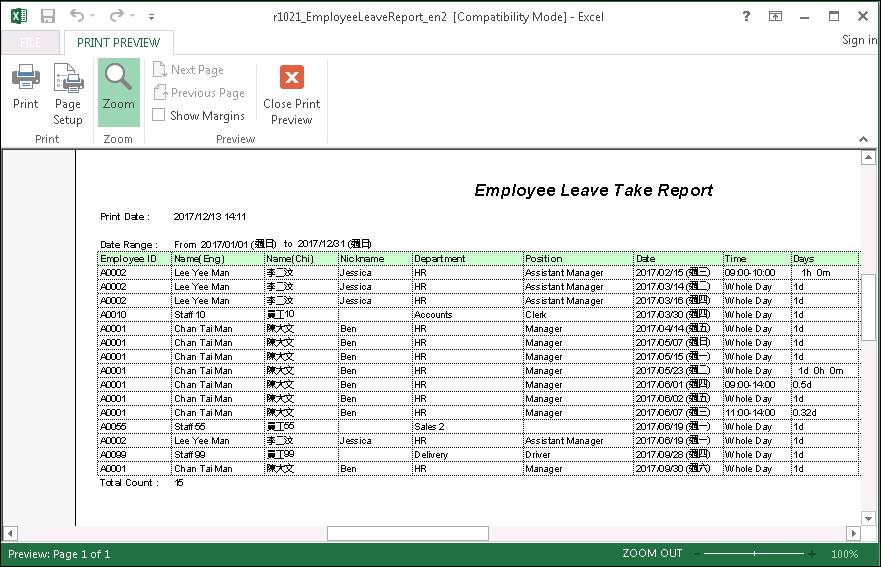
4.2
Preview : A read-only report preview will be shown on
screen after generation completed. You can select [Print] after preview
4.3
Print : Print the report to your default printer
directly. No EXCEL, or preview will be shown.
4.4
E-Mail : Send out an email with report attached. By
different report, there may be 2 email mode for select :

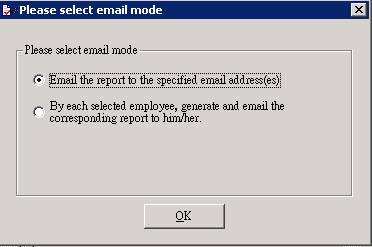
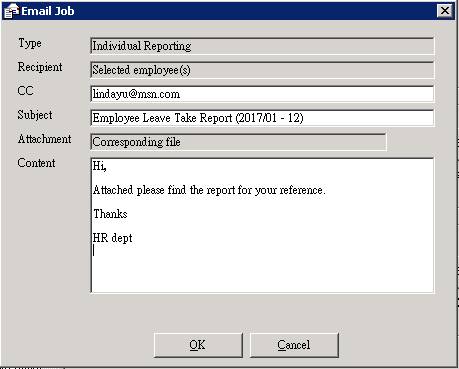
4.4.1
“Email the report to the specified email
address (es)” – This mode will send out only 1
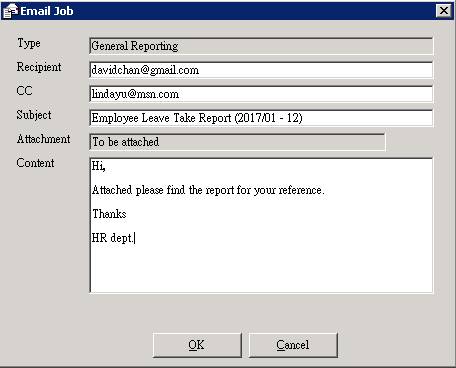
email to the specified email address(es) with attached the report. Below screen will be shown.
Fill in the fields accordingly:

|
Field |
Description |
Example |
|
Recipient |
The email address of the
recipient. Multi recipient is supported by separating the email address with
a semicolon ( ; ) |
|
|
CC |
The CC email address. Multi
recipient is supported by separating the email address with a semicolon ( ; ) |
andywong@your_company.com; [email protected] |
|
Subject |
The subject of the email |
Employee Leave Take Report
(2017/01 - 12) |
|
Content |
The content of the email |
Hi, Attached please find the report
for your reference. Thanks HR dept. |
4.4.1.1
Press
the [OK] button to send out the email

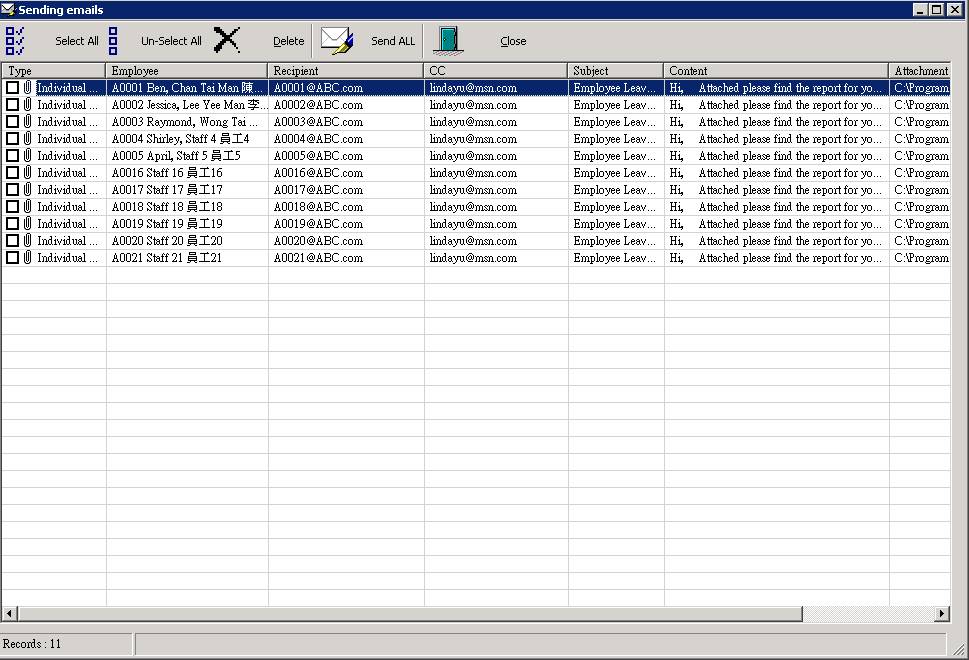
4.4.2
“By each selected employee” – This mode
will send out an email to every selected employee(s) with attached
his/her own report. Below screen will be shown. Fill in the fields accordindly:
|
Field |
Description |
Example |
|
CC |
The CC email address. Multi
recipient is supported by separating the email address with a semicolon ( ; ) |
andywong@your_company.com; [email protected] |
|
Subject |
The subject of the email |
Employee Leave Take Report
(2017/01 - 12) |
|
Content |
The content of the email |
Hi, Attached please find the report
for your reference. Thanks HR dept. |
4.4.2.1
Click
the [OK] button to start preparing all emails to be sent. At this moment no
email are sending out yet, just preparing.

4.4.2.2
When
all emails are prepared well, they will be shown on screen as a list for final
approval. At this stage, you can double click onto a particular email record to
see the details. If everything OK, press the button [Send ALL] to start sending
out the email one by one automatically.
5
Once
the report generation completed, you can repeat above steps to generate another
report.
6
Click
the [Close] button to exit.