

Customize your own payslip
template
Make sure you have completed following session(s)
What is a “Payslip”
In ecPayroll system, the payslip can be generated in several ways as
below:
1.
Export
to MS EXCEL as a file
2.
Print
to a A4 paper through printer
3.
Print
to a pre-printed, NCR, 2 or 3 ply copy paper through dot matrix printer
4.
Send
to employees through email.
Steps
1
Find
and open the standard payslip template file
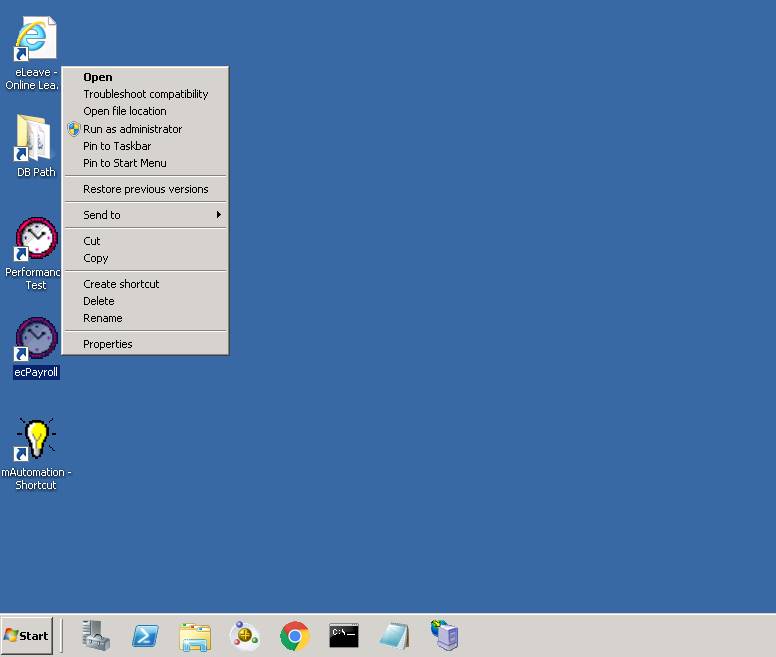
1.1
Right
click the program shortcut from your desktop, then select “Properties”

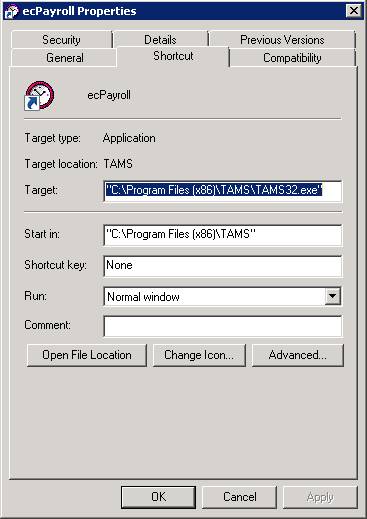
1.2
Click
the [Open File Location] / [Find Target] button to access the
program folder.

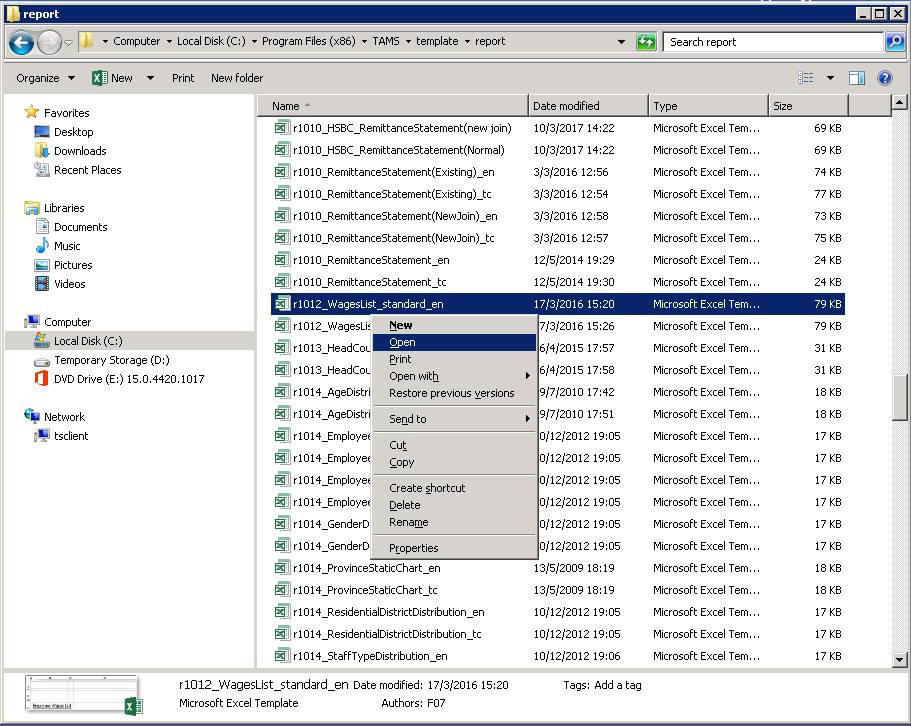
1.3
Go
to the Template\Report\ folder, then find the Excel template file “r1012_WagesList_standard_en.xlt”
in the folder.


1.4
Open
the Excel template by mouse right-click and then select “Open”. Do not open the
file by mouse double-click or otherwise you cannot edit the template.
![]()
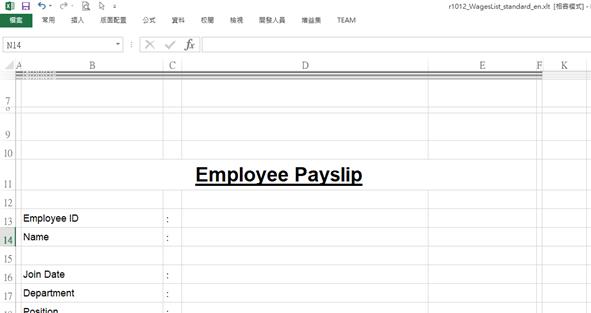
1.5
Click
“File
> Save as” to save the template in another filename, say, “MyCompanyPayslip.xlt”.
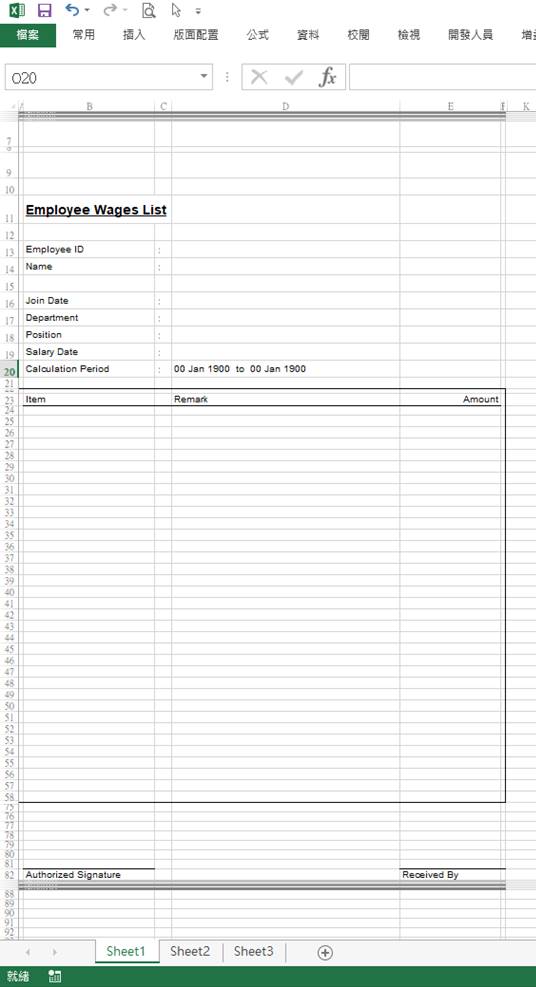
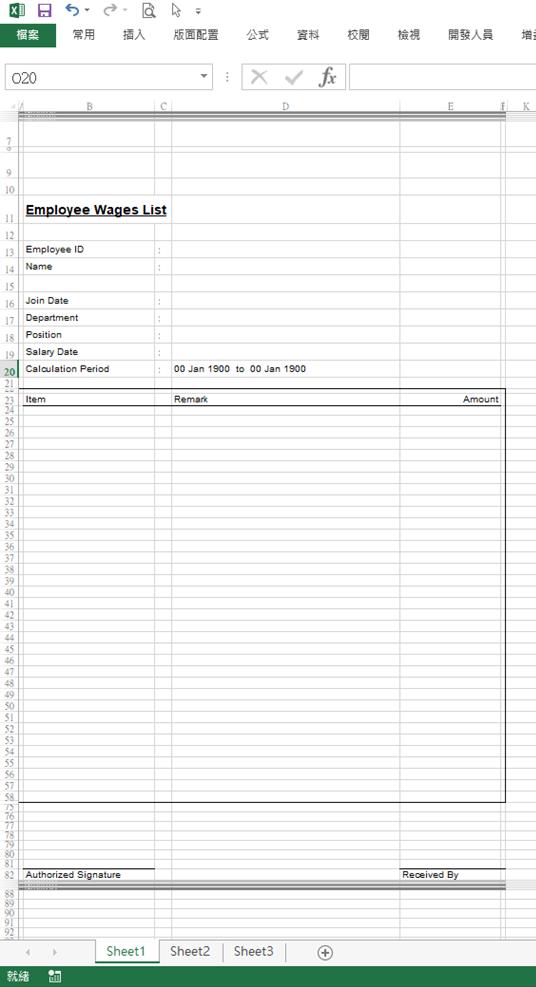
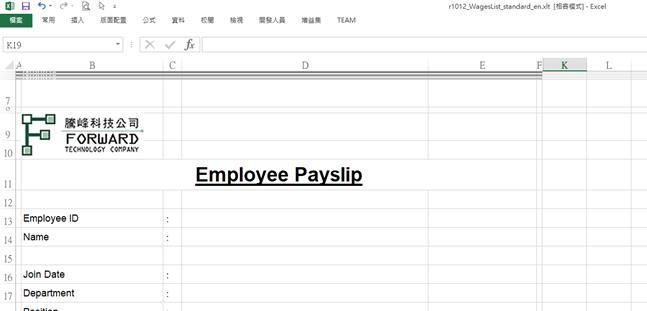
Now you are ready to design your own payslip template by modify the standard
one. Below is the sample of the standard payslip.

|
|
TIPS |
DO NOT
open the template file by double-click in “File Explorer” or otherwise you are
not “editing” the template file
but only “using” the template
file. |
2
Understand
the template file
2.1
Before
we start changing the payslip template, we have to understand the how it works.
Basically, there are 2 parts in the template: (1) the layout with fixed
wordings, fixed title, fixed lines, and even fixed image. (2) The data areas
defined in the Excel cells to tell the system where and what data should be
inserted. Below image showing the layout part in blue while the data areas in
red.

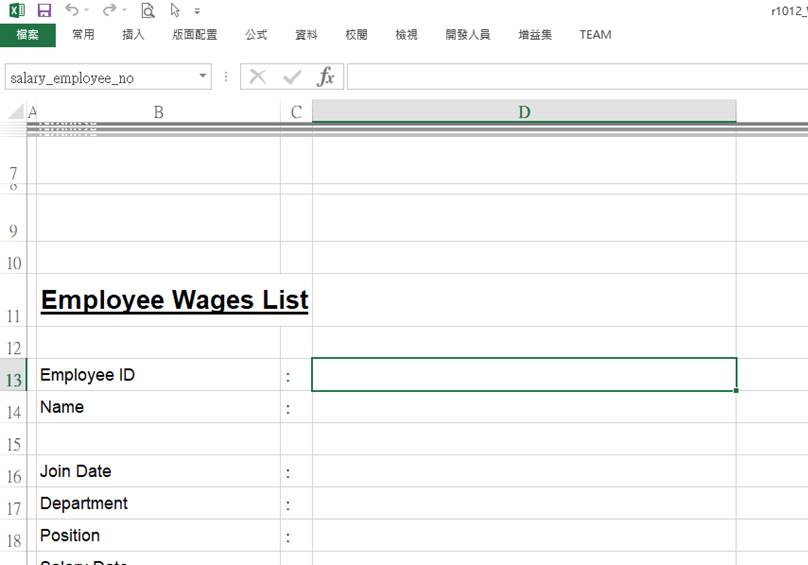
2.2
During
payslip generation, the system will load the EXCEL template file with the fixed
layout, and then process each data area one by one. For each data area, there
is a “data identifier” which is
stored as the name of a cell (or arrange of cells). You can find the
corresponding “data identifier” by
click on the cell and see the name field in top left hand corner. In below
sample diagram, you can see the “data
identifier” for the data area “Employee ID” is “salary_employee_no”.
This telling the system to put the corresponding Employee ID in this cell.
Click on the other data area cells and you will find the different “data identifier”.

2.3
In
the template file, you will find 2 groups of data area “rows” that represents
“header” and “footer” in different “section”. As this part is more advance and
I am not going to explain in this chapter. Just leave it there and DO NOT
REMOVE these rows or otherwise the payslip cannot be generated.

2.4
Moreover,
the template should always be put in the first spreadsheet (i.e. Sheet1).
3
Changing fonts and text
3.1
Now, let’s try to change the title wordings,
location, and font size. As it is belongs to the fixed layout, you may just edit
as easy as normal excel operation.

4
Add
a company logo
4.1
You
may also add your company logo just like insert an image to the spreadsheet.
5
Remove
some rows
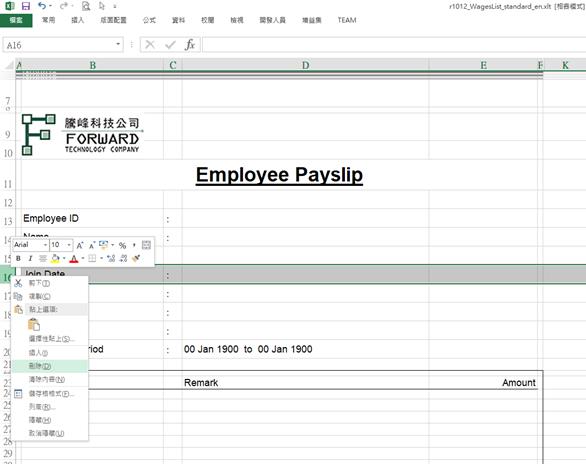
5.1
Ok,
for example, I don’t want to show “Join Date” in the pay slip. So I should
remove the whole row include both fixed text and the data area. Please follow
the steps below.
5.1.1 Mouse click on the row 16 to select
the whole row.
5.1.2 Mouse right-click, and select
“Delete”
![]()
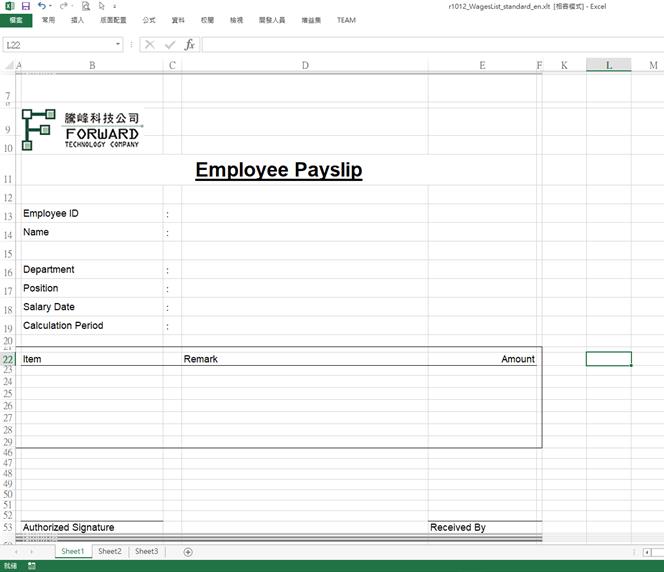
5.1.3 Now, the row and the corresponding
“data identifier” are removed. Removing “data identifier” is necessary or
otherwise the “join date” will also be shown in your payslip even you have
already deleted the text.
|
|
TIPS |
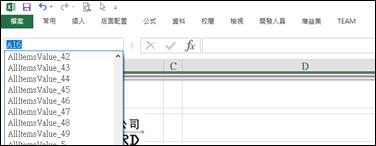
You may
find all existing “data identifier” by click on the arrow in the cell name
box.
|
5.2
Similarly,
as I may not have so many salary items, and I just need to keep, say, 5 items.
Therefore I can delete all exceed rows with same technic as shown above.
6
Save
6.1
That’s
it. Now you should know how to add/change/delete text, changing font size, style,
and colour, move the field position, as well as adding an image.
6.2
Press
the [ Save
] button to save changes.
6.3
Finished
editing the template. Close the Excel.
7
Apply
to the “Salary Profile”
7.1
To
make the new payslip template effective, you must apply it in one or more
suitable “Salary Profile”. In other words, you may have different payslip
template for each Salary Profile.
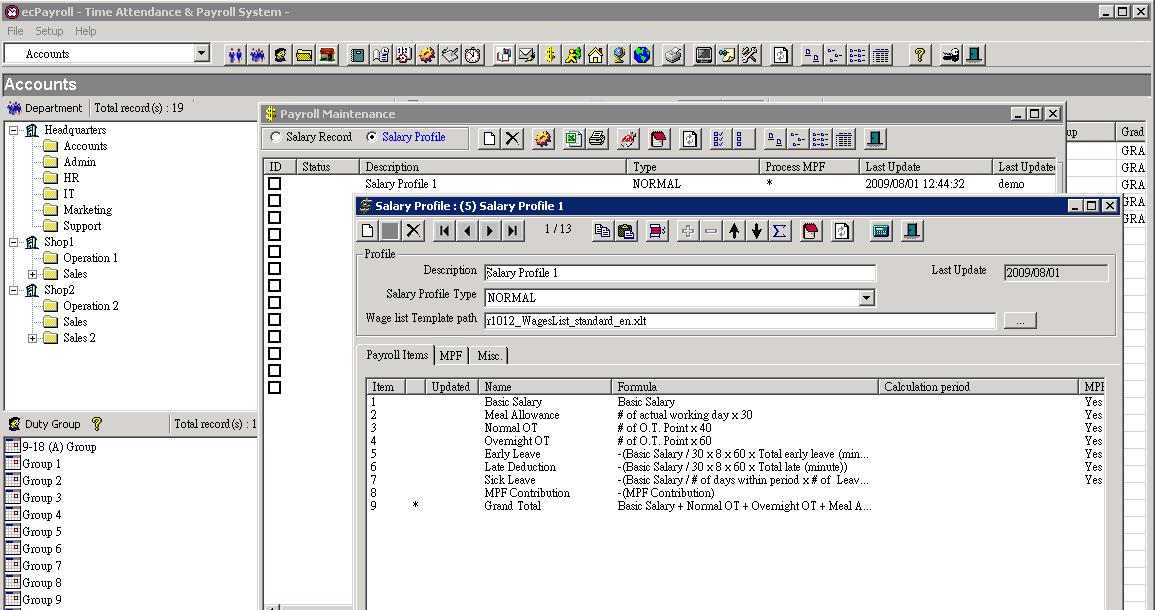
7.2
In
“TAMS
> Payroll Maintenance > Salary Profile”, open the “Salary
Profile” that you want to apply the new payslip template.


![]()
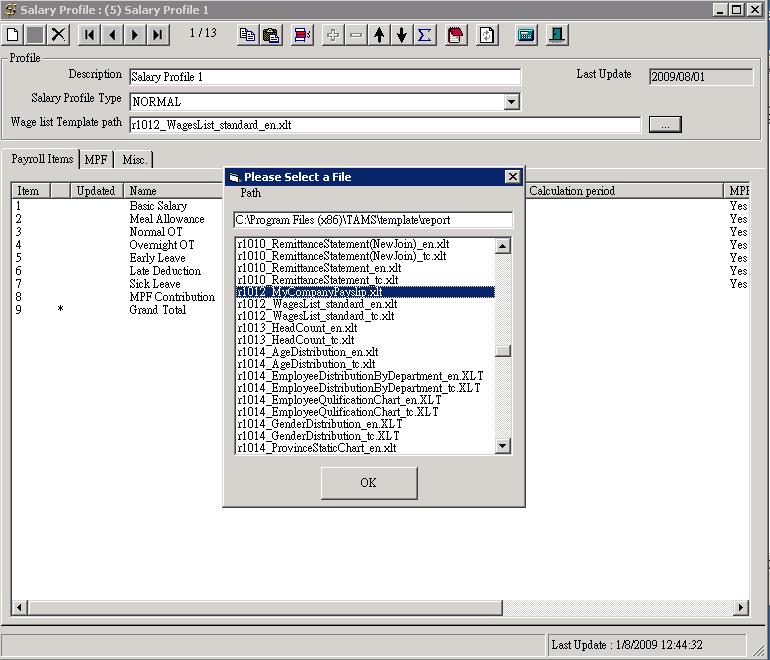
7.3
In
the field “Wage list template path”,
select your new template file in the folder where you saved. In this example,
the path should be “{application folder}\TAMS)\template\report\MyCompanyPayslip.xlt”.
![]()
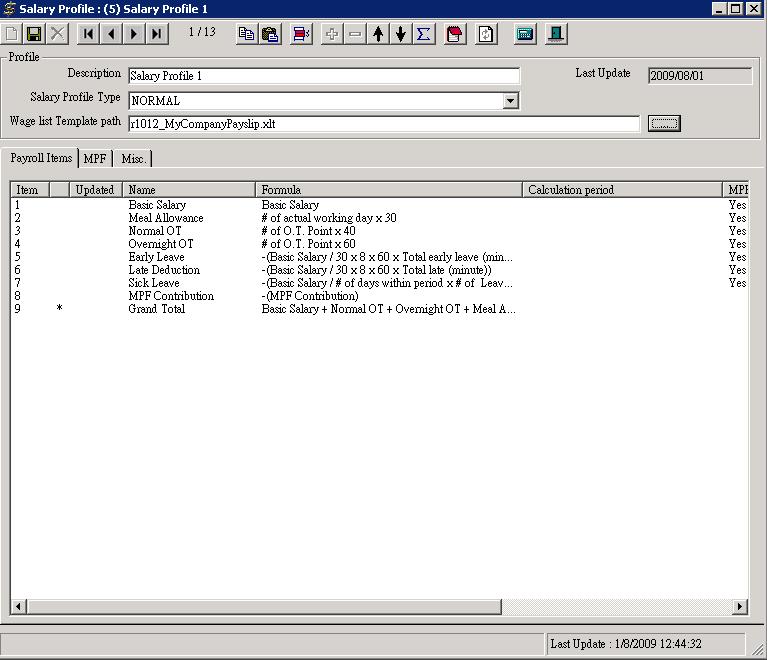
7.4
Click
the [ Save
] button to save changes.
![]()
7.5
Finished.
Now, when you are generating payslips which corresponding salary records was
generated from this Salary Profile, you will see the new payslip layout.