

Web User Group (Access Group) Setup
Make sure you have
completed following session(s)
l None
What is a “Web User Group”
A “Web
User Group” (or Web Access Group) is a grouping of
web users who have same set of web app settings, such as access rights,
approval flow, dashboard settings, etc.
Why needs “Web User Group”
Every “Web
User” must join a “Web User Group” so that the system
knows what functions he/she can use, what information can be access, and who
are the approver(s) of the application submissions. Setting up Web
User Group(s) to avoid repeat settings for each “Web User” account. It is
also much easier when some settings have to be changed for these group of user.
How to setup a “Web User
Group”
Depends on
what modules you have purchased, different settings will be shown for setup.
Please follow below steps to do the setup:
Steps
1
In
system backend (i.e. TAMS), in main screen, click the [ Web Module Setup ] button from the main
toolbar to open Web module Setup screen.
2
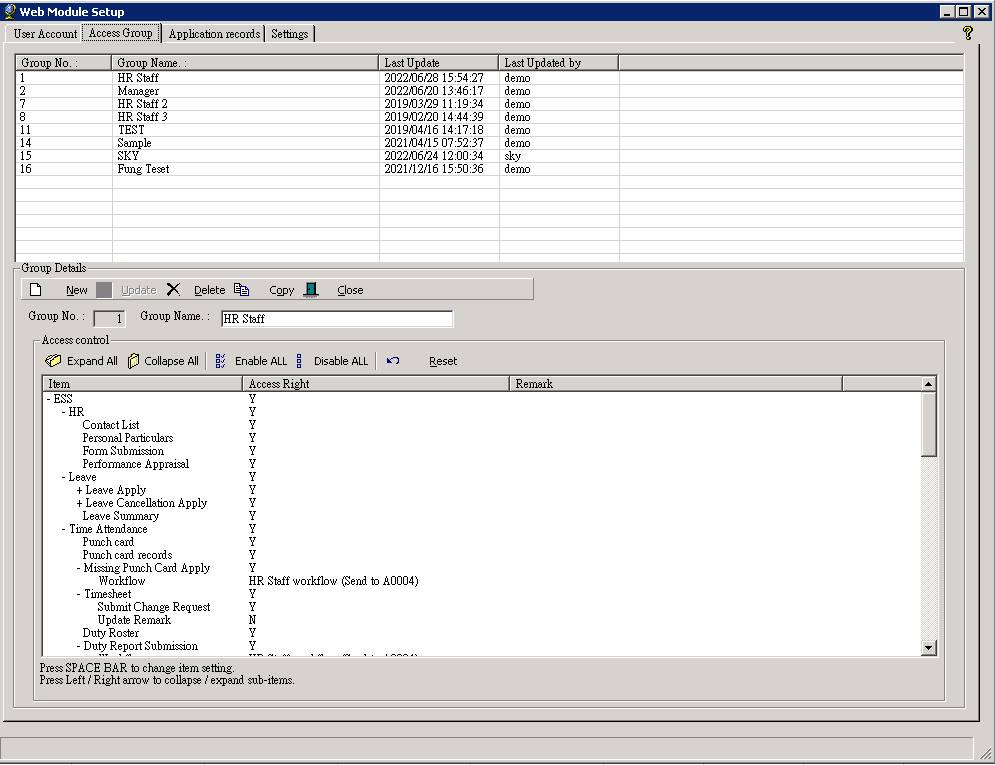
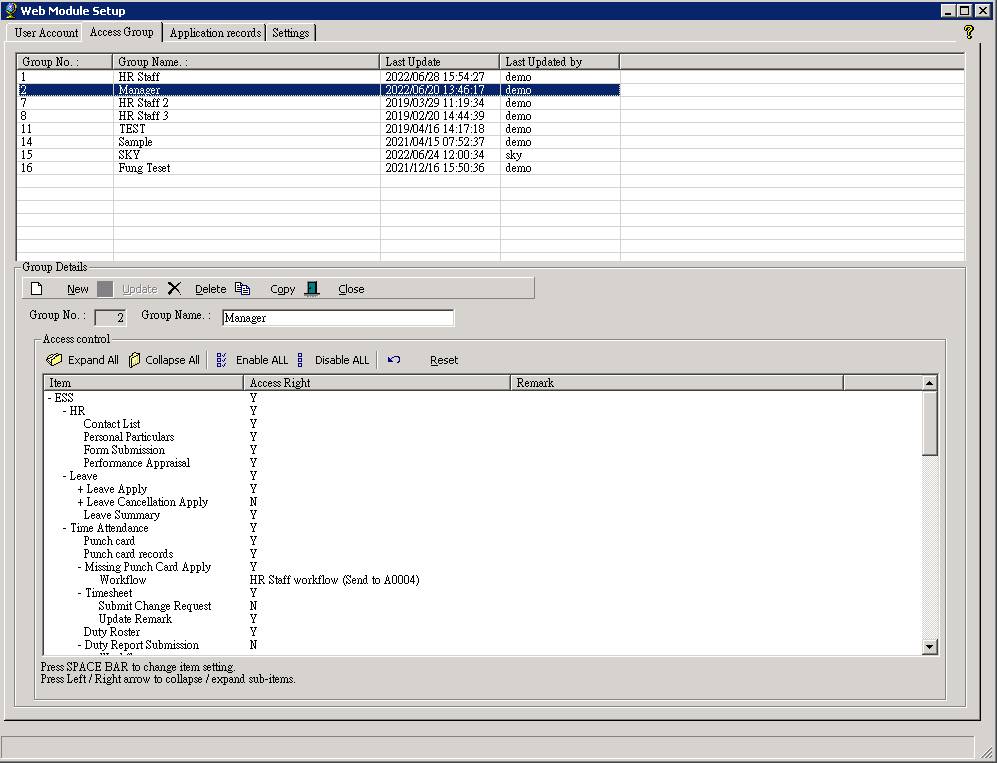
Click
on the “Access Group” Tab
![]()
3
All
created Web User Groups are shown in the list.

4
To
view a particular Web User Group settings, simply click on it in the list. Please
be patient when loading as there may be many settings have to be loaded depends
on what modules you have purchased.

5
To
edit the Web User Group settings
5.1
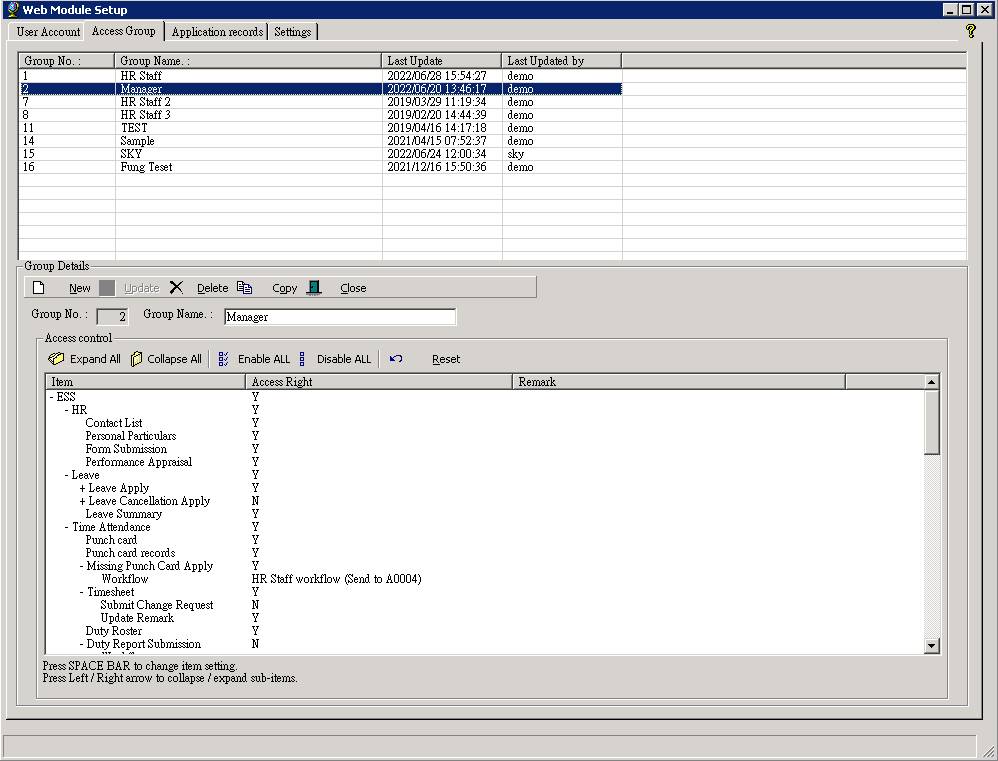
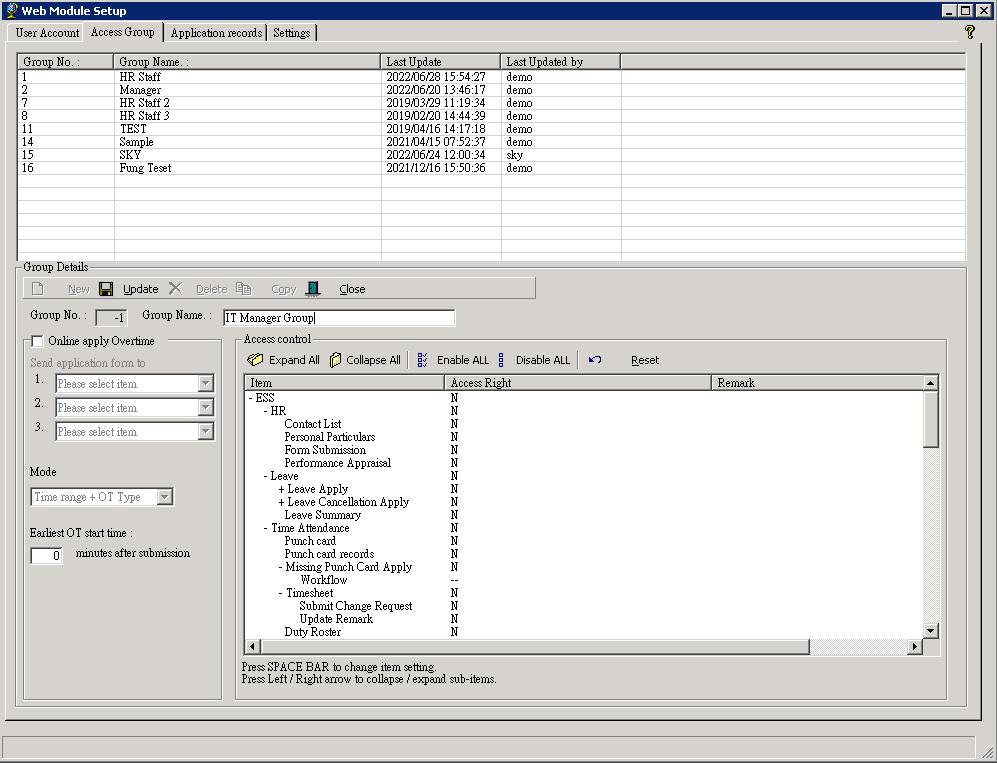
Select
the Web
User Group that you are going to edit
![]()
5.2
Change
the settings by following the instructions on screen.

5.3
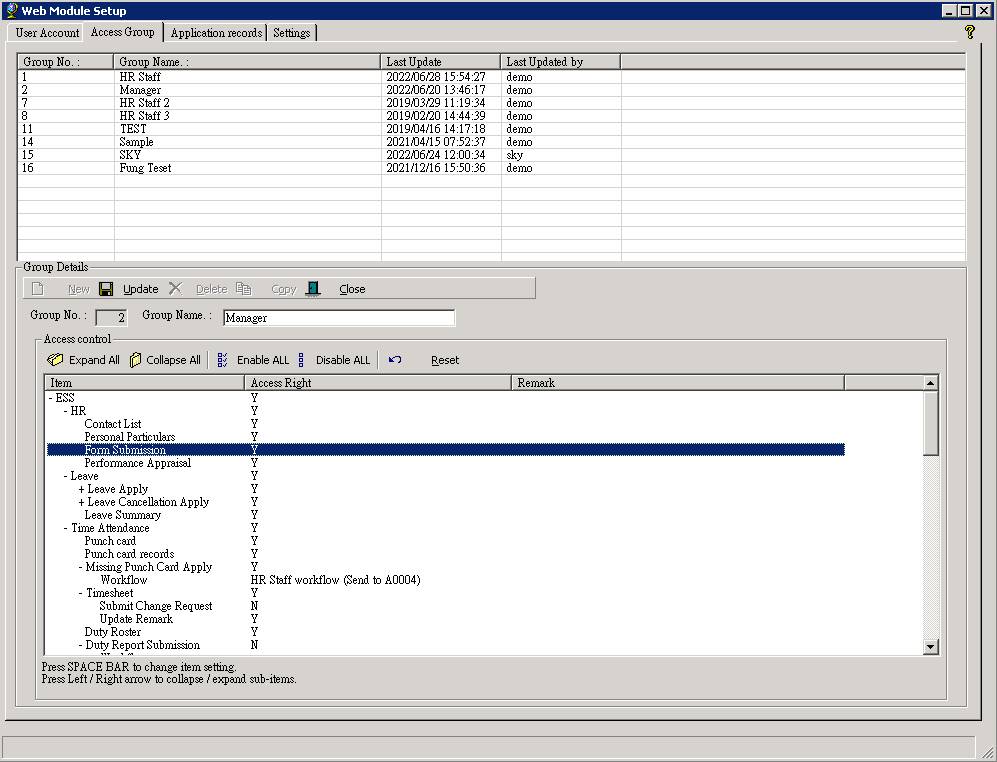
When
finished, click the [ Update ]
button to save changes.
![]()
6
To
create a new Web User Group
|
|
TIPS |
If you want to create a new Web
User Group which setting is similar to another current Web
User Group, you may highlight that current Web User Group, and
click the “Copy” button to duplicate a new group and change the setting. |
6.1
Click
the [ New ] button
![]()
6.2
Enter
the “Group Name” for the new Web
User Group.
![]()
6.3
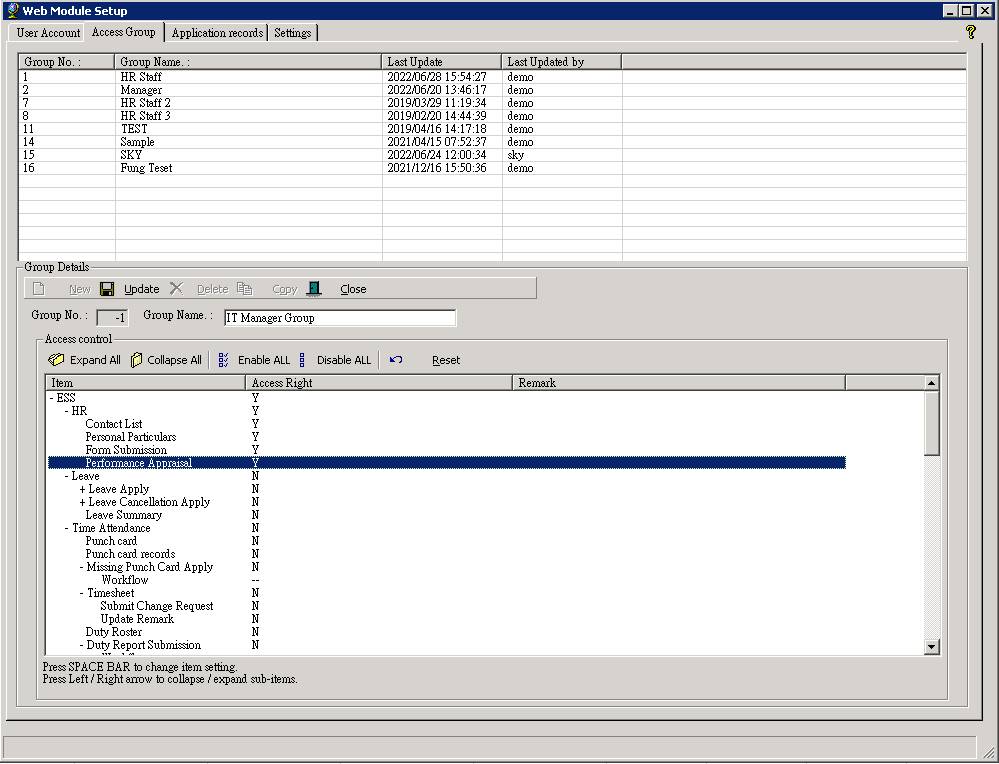
Change
the settings by following the instructions on screen.
|
|
TIPS |
To
prevent missing define access right items, it is recommended to click the “Expand
All” button to expand all the access right items before setting, |

6.4
When
finished, click the [ Update ]
button to save changes.
![]()
6.5
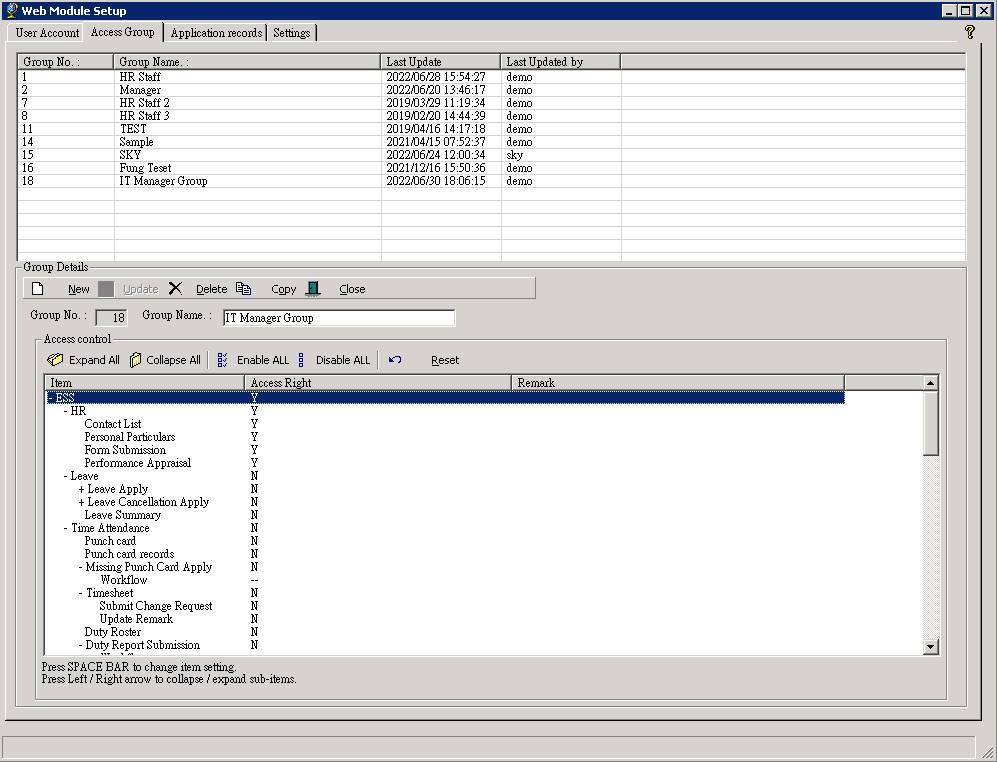
The
new Web
User Group was created and it will be shown on the list.
![]()
See also
Web Site Setup –
Leave Approval